Tagged: Make a dial

The indefatigable Tony Moss has generously made available a video on “Photoetching a Clock Face and Sundial” which goes through the whole process step by step using ‘kitchen table’ technology with all processes, materials, timings and practical hints & tips included. 20 minutes of practical wisdom that tell you everything you need to know!

As part of Tony Moss’ continuing generosity to the dialling community, here is a collection of compass roses and borders that he has used over the years. Click to view the PDF then save it to your computer by right clicking while viewing. Alternatively the file can be downloaded directly in Adobe Illustrator by clicking on an entry right column.

Name PDF Adobe Illustrator
Alsace Compass Rose PDF
Compass Rose after Cary PDF
Cooke, Troughton & Simms PDF
Troughton (original version without border) PDF AI
Broken Key Border PDF AI
Broken T Border PDF
Roman fret border PDF

Construct this unique instrument and you can read Solar Time simultaneously on four of the most common sundials. As an introduction to sundialling for beginners this project will develop several important concepts.

Tony Moss
March 2014

Triplets

Introduction

The initial inspiration for my Educational Multi-Dial arose from a diagram in ‘Sundials’ by Frank W. Cousins. My own design progressed through plywood and MDF construction in pursuit of something that could be made in schools but most were beyond the modest equipment found in the classroom.

Read More

Multi-dial assembled

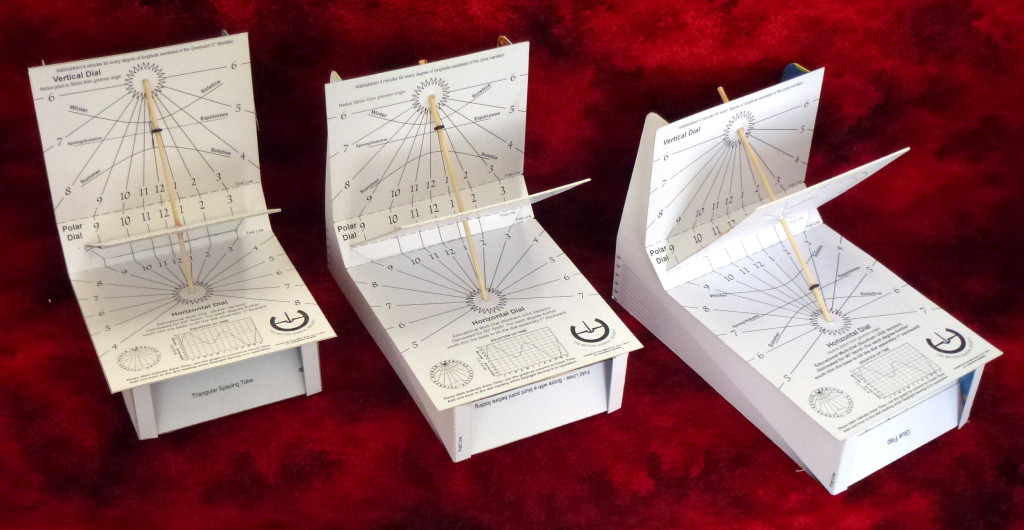
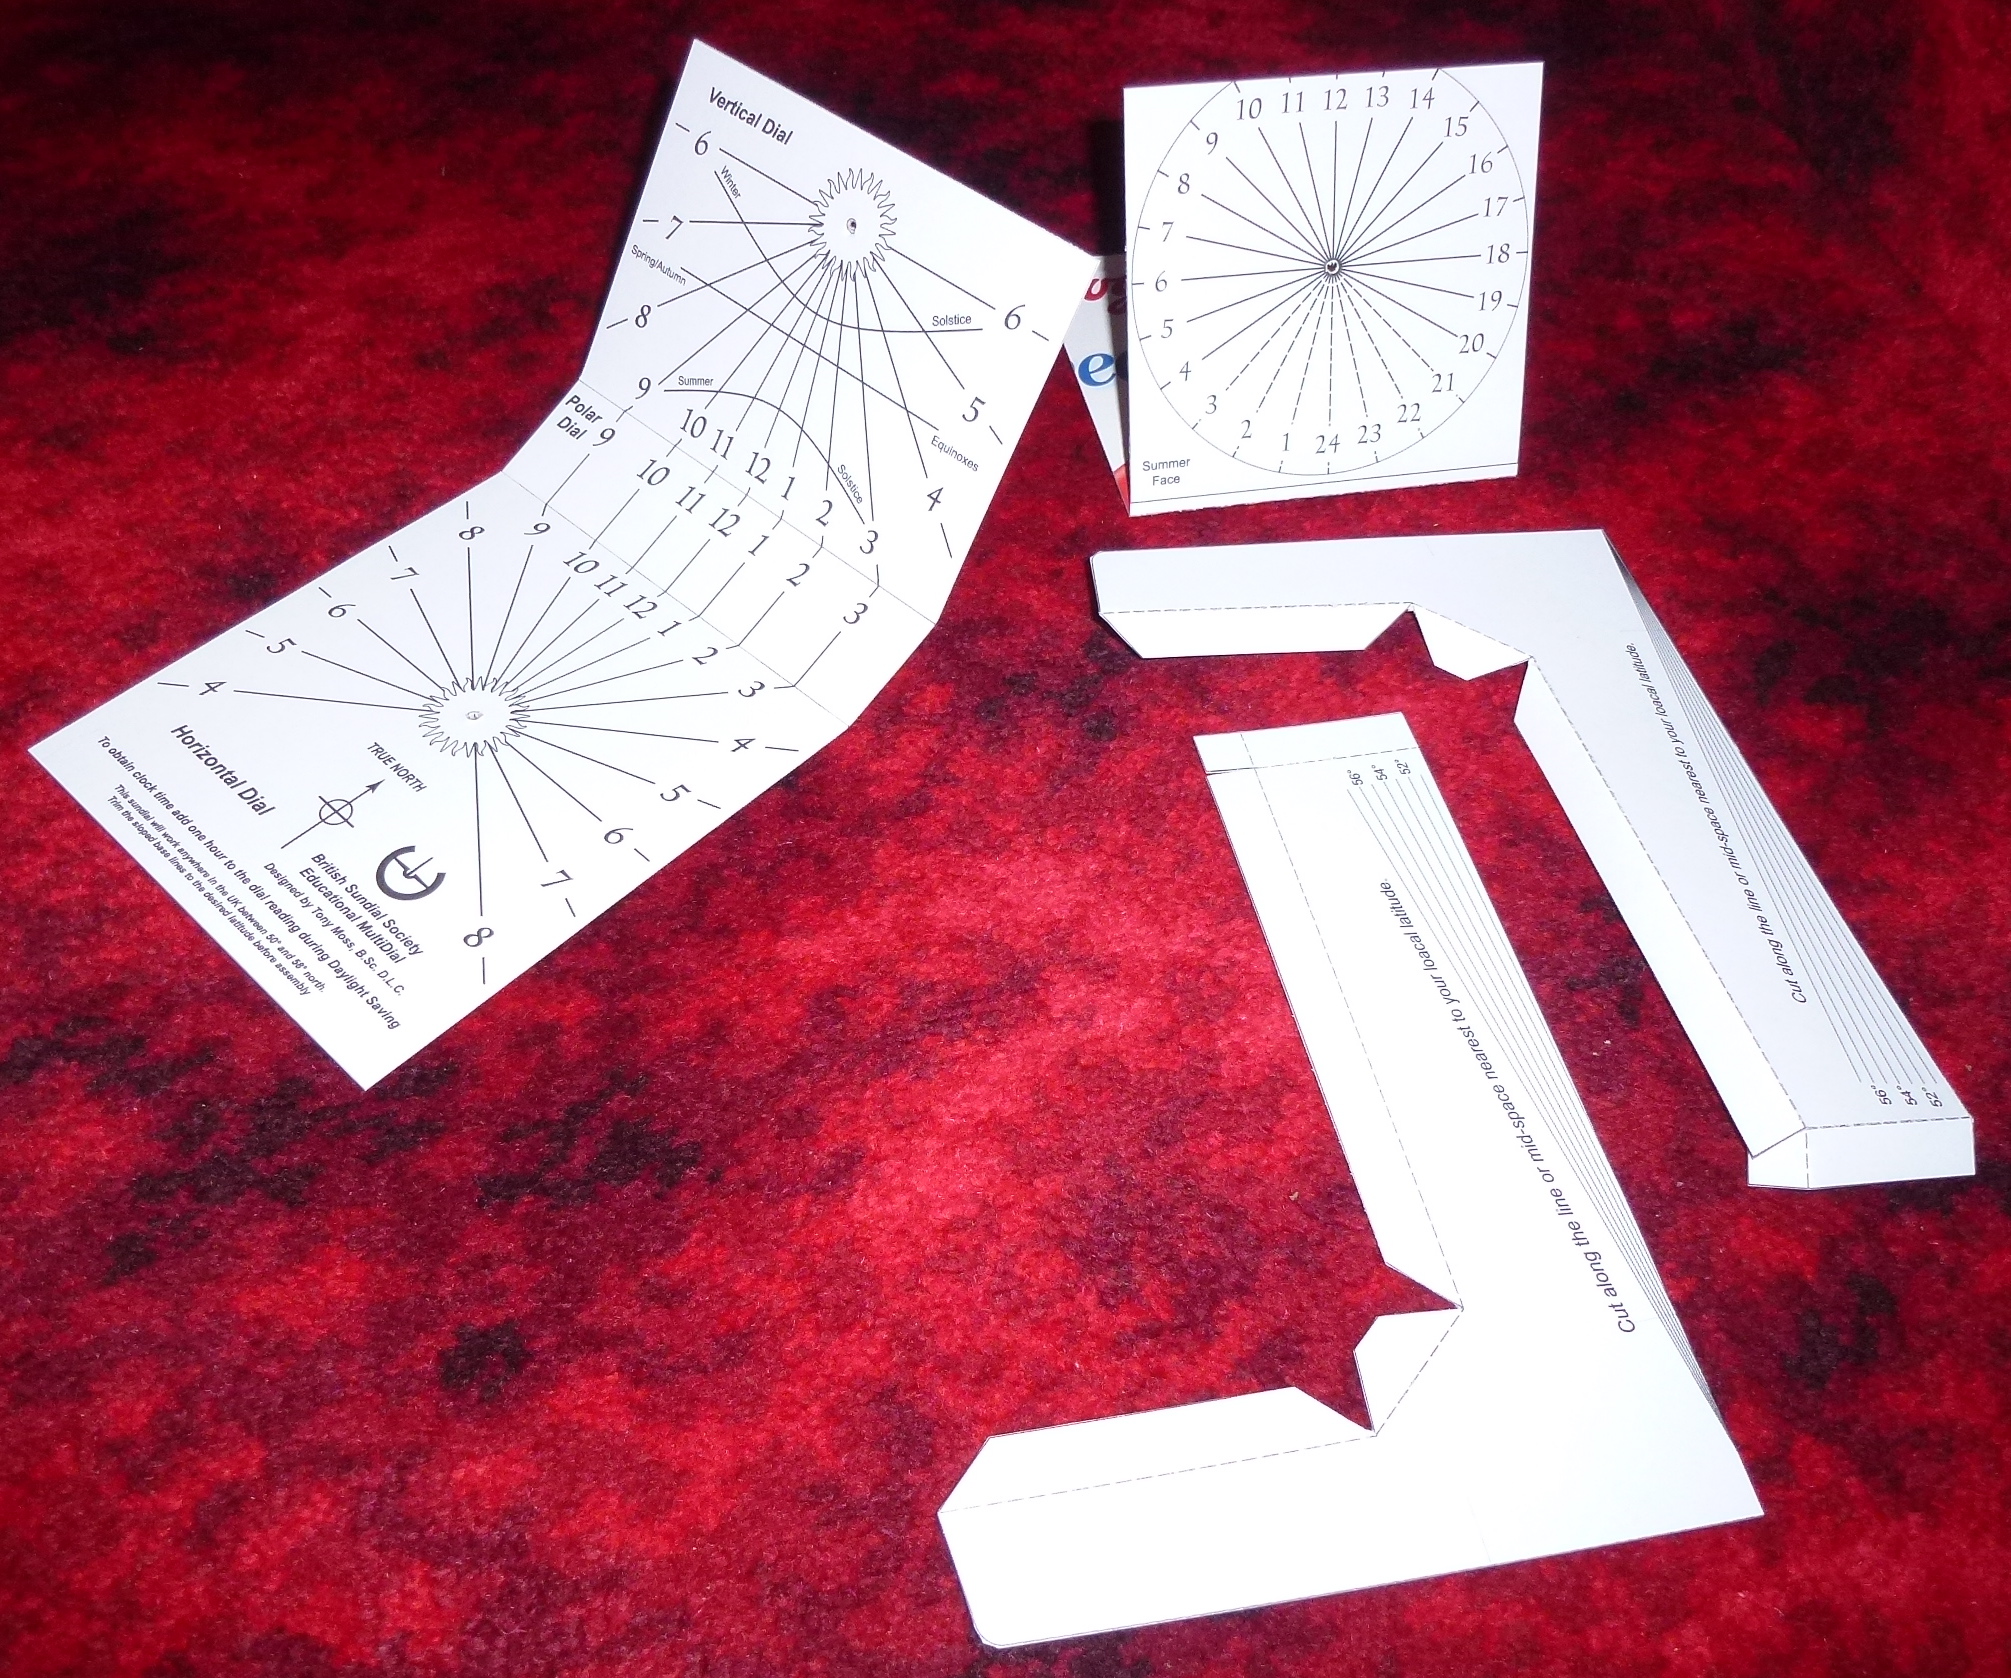
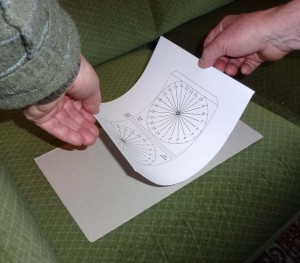
The MultiDial combines a Vertical, Polar and Horizontal dial and can be adjusted for latitudes between 50° and 57°. The templates for the design should be downloaded, printed and cut out:

J. Cut Out
Drape the exposed adhesive sheet as in the picture to avoid wrinkles:
Laying papers
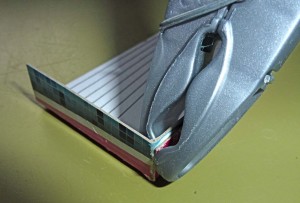
Cut out using a Stanley knife or similar and a steel rule on a suitable base. e.g. hardboard.
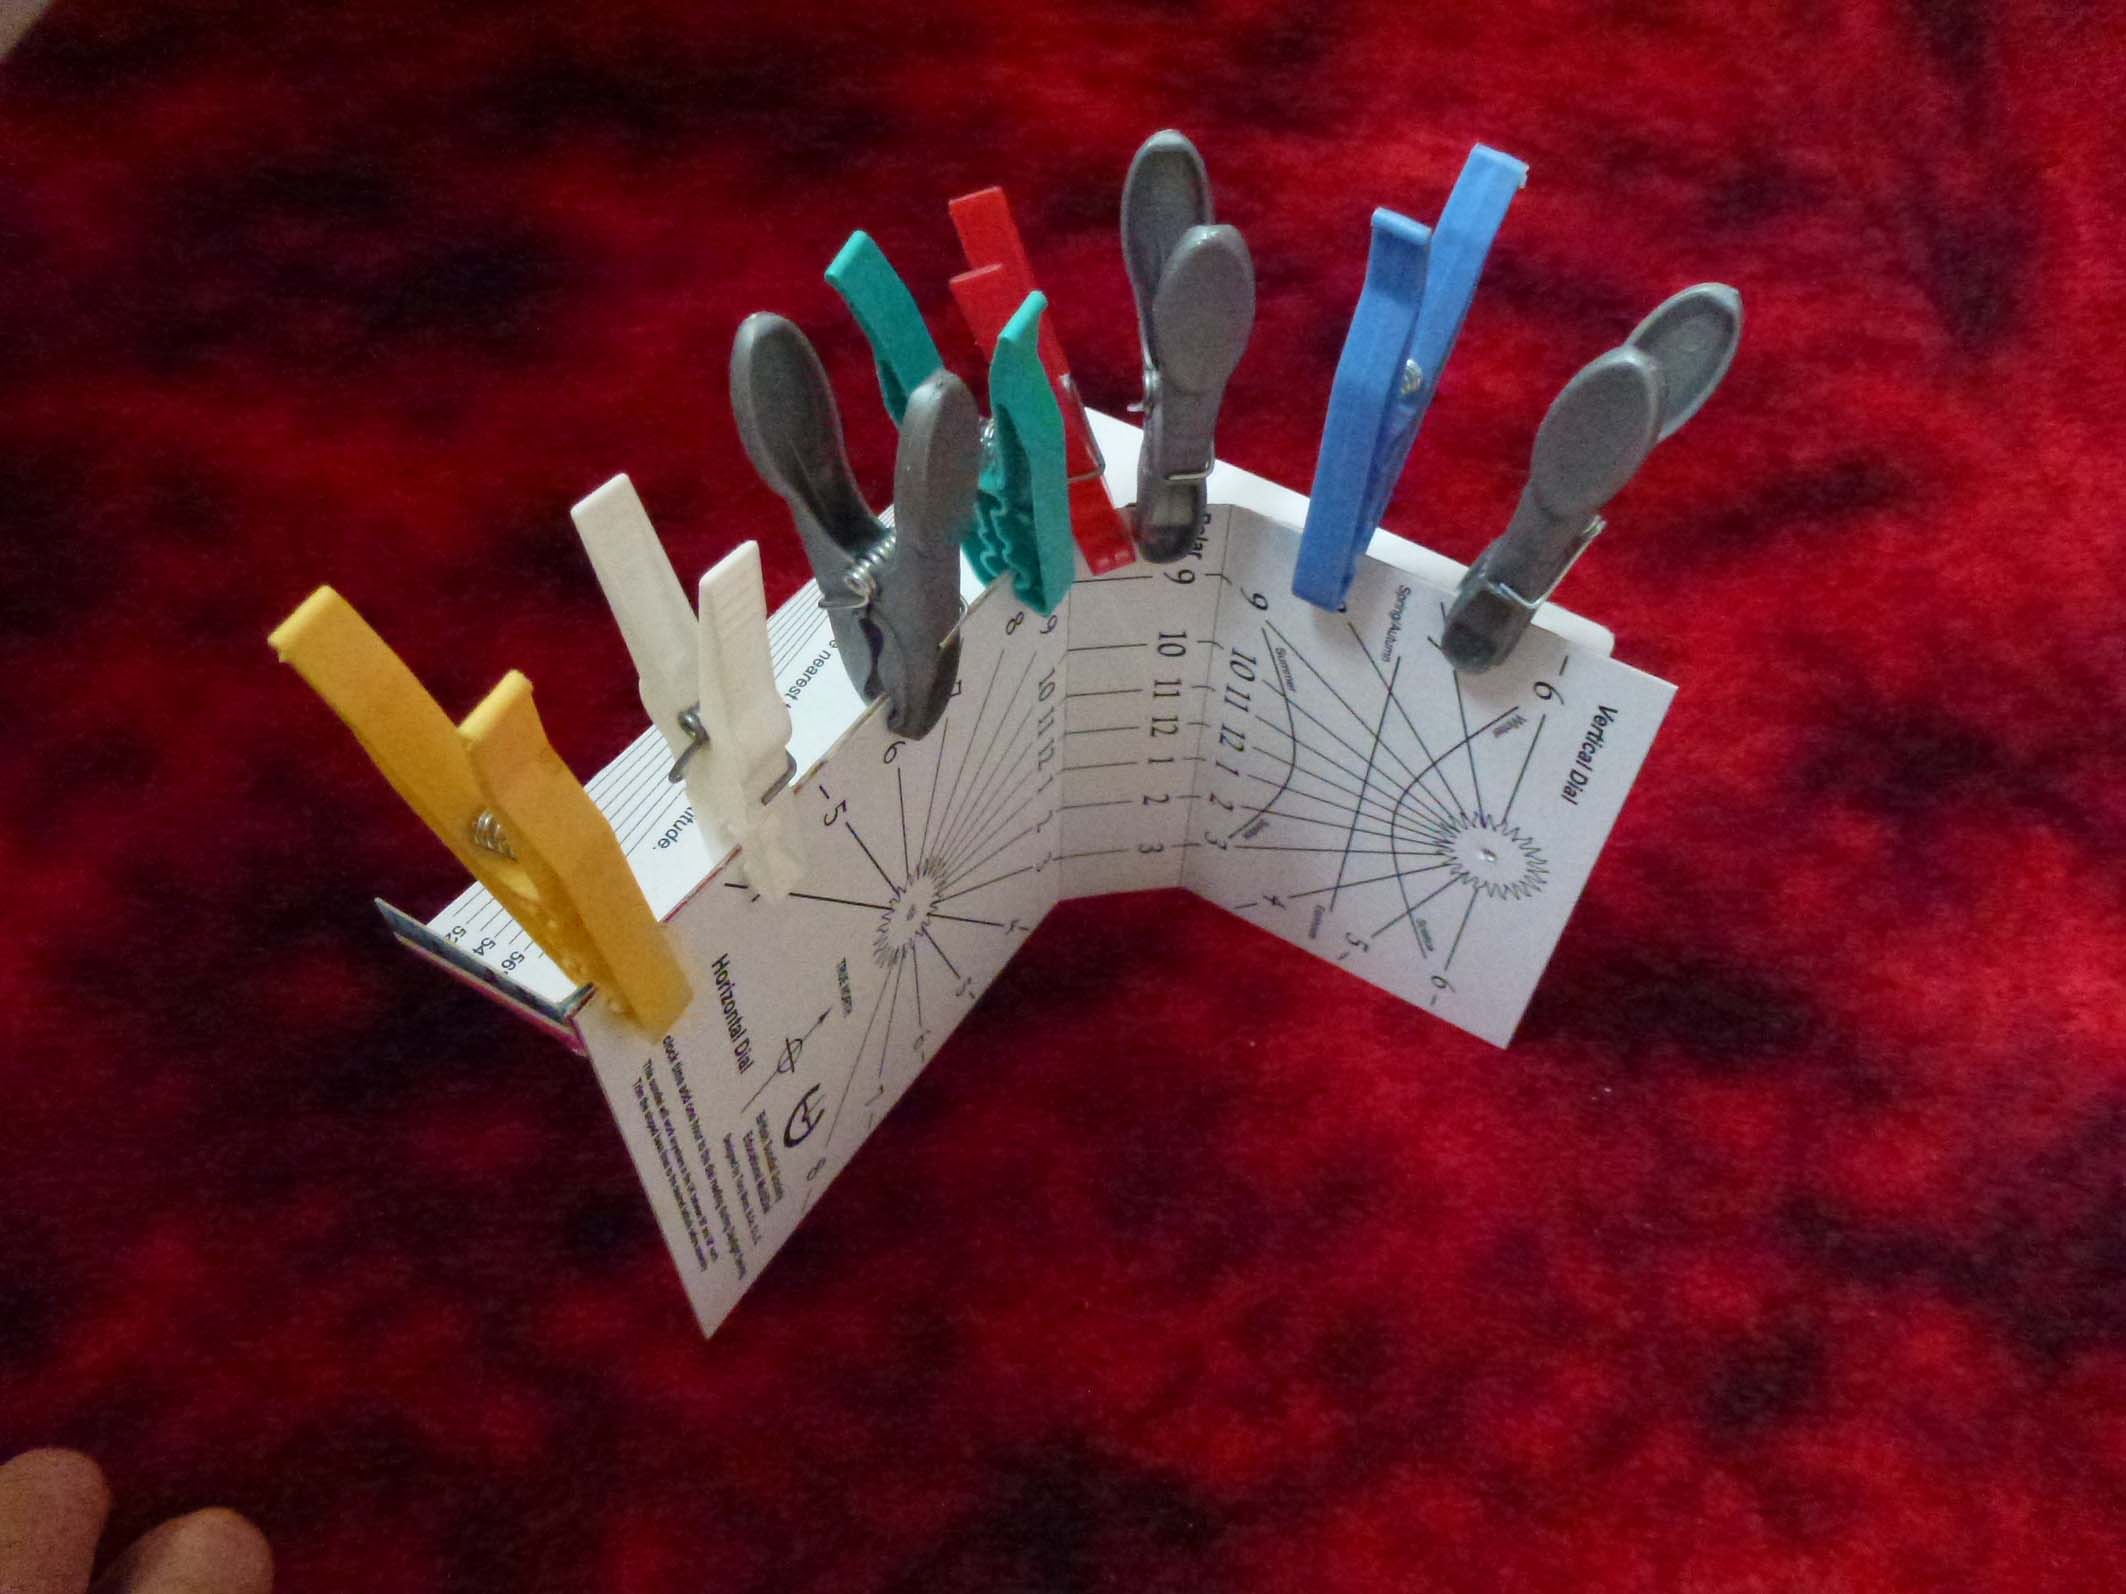
Cut the sloped lines for latitude *before* folding and glue using e.g. PVA wood adhesive.
Clothes peg clamping

Glued up
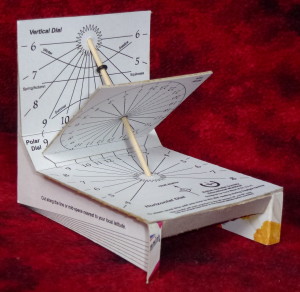
A length of bamboo kebab skewer is included for the polestyle gnomon.
‘Score’ the chain lines before folding with e.g. a blunt knife
Use the pointed end to pierce the dial origins *before* folding.
Assemble the ‘O’ ring nodus as you incline the polestyle on assembly.
The print is inkjet so isn’t waterproof. Spray a coat of matter clear lacquer to protect if desired.

If you would like to alter the details of the design, the templates are available can be downloaded in Adobe Illustrator format for editing: